


The investigation report is the final step of the investigation process. Writing investigation reports is time-consuming and styles can vary widely between investigators. Having a template with fillable fields ensures a consistent style, as well as prompting investigators to ensure all the information is filled out. Having one on hand also means that you can fill it out over the course of the investigation, writing case notes and summaries into it as you go – saving time re-writing notes into your report at the end of the investigation. However the ultimate is, of course, a case management system such as Polonious, which can generate an investigation report for you at the click of a button.
Structure of the investigation report
Whichever way you are doing it, these are the fields that we find usually appear on an investigation report. We will use insurance fraud investigations as our main example, but these are applicable to other investigations too, such as banking fraud, complaints and workplace misconduct, education, and so on. Choosing the right investigator is a smart way to ensure an effective investigation report that can help the business improve. This is why it is important to plan the investigation process thoroughly before the initiation of the process. Setting goals and objectives can also shape what the investigation report will look like.
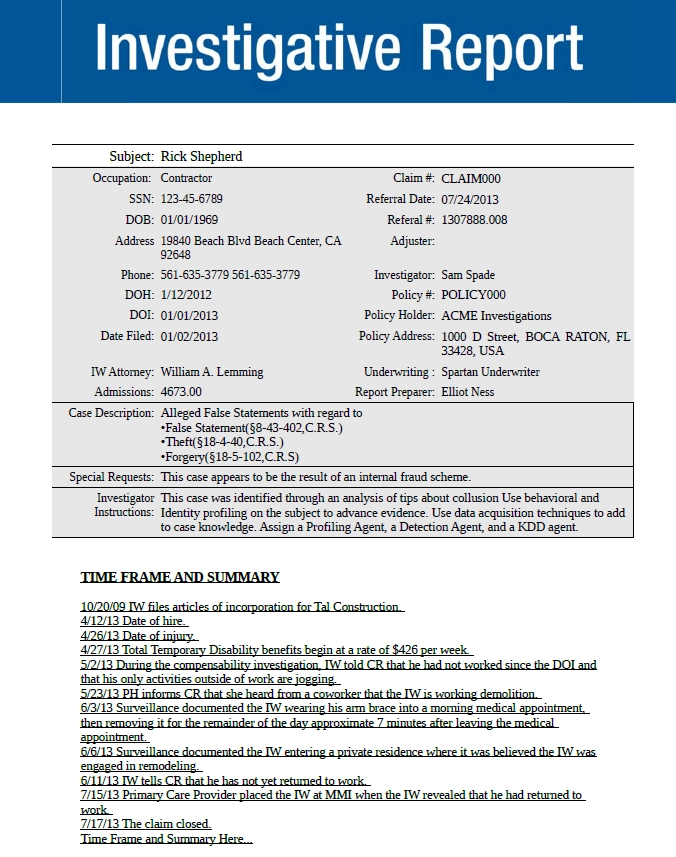
- Identifiers
Case files should come with a unique case number for easy identification in whatever system you have – whether it’s physical files, spreadsheets, or a case management system, and these should be in a prominent position on the investigation report. This may be a claim or policy number, or a student or employee number. However, this becomes complicated as you may have multiple investigations related to the same policy or person. We recommend assigning a unique identifier to each case, with other identifiers such as policy or claim number as secondary references in case you need to find information in another system. - Investigator and Report Writer details
Your investigator may be the person writing the investigation report, but this is not always the case. You should specify both for completeness and accuracy. For insurance cases, you may also wish to specify the claims handler. - Referral source
In an insurance case, this may be the claims handler, in which case you might not need an extra field. But it could also be another part of the business, or a tip line, or an analytics engine. For a misconduct or education case it may be a complainant or a witness. - Key dates
The three key dates you should include in the investigation report are the date referred, when you first received the case; the date entered or filed, which is when you first created the case file in your physical or electronic system – this may be different due to a delay in filing when you’re busy, and lastly; the date it was first allocated to an investigator. For a closed case, you may also wish to include the date closed. - Case description/summary
This should include the allegation or description of conduct or fraud being investigated. For example, in a misconduct investigation it will likely be an allegation from the complainant against the subject. However, for an insurance fraud case, it may be an event like a vehicle collision, and the reasons why it was flagged as possible fraud – e.g. over a certain value or within a certain window relative to policy inception or expiry. If the allegation was made by someone other than the victim, include whatever details you can about the victim. - Special requests or instructions
This is similar to, but separate from the above. In this section you outline what, specifically, you are looking into with regard to the allegation or event – where you started the investigation from and what you’re trying to prove. For example, ‘Check for consistency between body-shop quote and crash description in police report’ or ‘Determine whether X’s management decisions were applied consistently across the team or unfairly targeted the complainant’. This will give some context to the case history below. - Subject details
Enter any relevant details about the subject here. This will usually include name and contact details, as well as further information that may be relevant depending on the investigation type. For example, for an internal misconduct investigation you may include office location and staff number or job title. For auto fraud you may include licence number. For surveillance cases you should include a description of the subject – height, build, hair colour, etc. On certain case types, you may wish to include an ID photo. - Case Notes/History
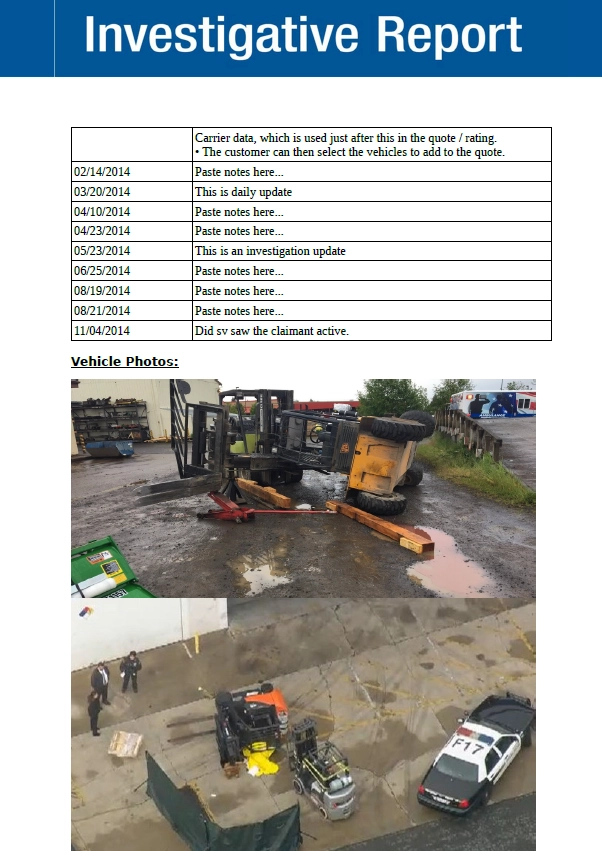
List all of the actions taken on the case here, in chronological order. Include who was assigned and who completed the action, a brief description of the action, and the date, time, and location it was completed. For interviews and surveillance, include who was the subject of the interview or surveillance, as it may not always be the main subject of the investigation. Provide enough to outline a case history, but leave the detail for below. - Photos/Surveillance Reports
This section is more specific to auto or surveillance cases, but if you have photographs – e.g. of a crash scene or important photos from surveillance – you should include them here. They can also be included in the evidence log or brief of evidence below, but including key photos here makes the investigation report more compelling and easier to read than having to open another attachment. Additionally, you may wish to include the surveillance reports with the photos, as well as a summary of other surveillance. - Interview reports
Provide the detail here for any interviews you mentioned in #8 above. Provide the main details of each interview again, as well as:
Any compliance requirements – length of interview, breaks taken, support people present (including translators). Anything required to show the interview was ‘by the book’. In Australia this now includes a number of requirements related to the General Insurance Code of Practice.
Interviewer notes – summarise what was discussed during the interview, including the purpose of the interview (which should be relevant to point 5 above), the interviewer’s role, and any requirements about confidentiality or protection. The overview should include confirmation of the date, time, and location of any incidents discussed, and a description of the incident and description or identification of any other parties present – either involved or as witnesses. The notes should conclude with the interviewee’s review of the notes and agreement that they are a true and complete record of the interview, and this should be backed up with a signed statement or recording below. - Evidence log/brief of evidence
The investigation report should include a list of the evidence collected during the investigation. You should include the following details:
Who collected the evidence, as well as their role in the investigation
Date and time the evidence was collected
Type of evidence – photo, video, forensic evidence, interviews etc
Where the evidence is stored (if applicable)
Alternatively, you can attach a brief of evidence to the investigation report, listing all of the evidence details above and including any photographs, signed statements, surveillance and interview reports, and so on. If presented electronically, this can also include audio and video. For example, Polonious includes easy to create PDF briefs that include photos and documents, as well as secure links to video and audio files stored online. - Recommendations
Your last section should detail your findings from all of the above materials when considered alongside any relevant legal or policy frameworks such as insurance policy conditions, or employee codes of conduct. Should the claim be denied? Should disciplinary action be taken against the employee or student? Or does the evidence not support the questions the investigation was trying to answer? Support your recommendations by referring back to the details above – do not assume the reader will automatically make the same connections you did.
How can Polonious help?
If you have a case management system, you can log all of the above as you complete the investigation. Dates, subject details, case numbers, and so on all come across automatically.
Did you just write some notes in the case file? Well, when it comes time to create the report, we can pull those in to section #8 without you needing to summarise them again.
Logged some surveillance photos? We can show them directly in the investigation report and include their details – including metadata – in the evidence log. As mentioned above, they can also be included in a brief of evidence – even video and audio in electronic briefs – cutting hours or even days of preparation time down to an hour or two.
Additionally, as a process based system, all actions on the case which support your investigation report are maintained in the case history, with a full audit trail.
Let's Get Started
Interested in learning more about how Polonious can help?
Get a free consultation or demo with one of our experts